3d printing the PyDay 2026 speaker gift
Last October (2025) I bought a 3D printer: a Bambu Lab A1 with AMS (multi-filament). I had figured that my son and I would be the most enthusiastic users, but Cote surprised me by finding unexpected uses (personalized gifts, Christmas and Halloween decorations, designs to paint with acrylic pencils, among others). We printed lots of things from the marketplace (already created by others), but I wanted to make something myself from scratch using Tinkercad.
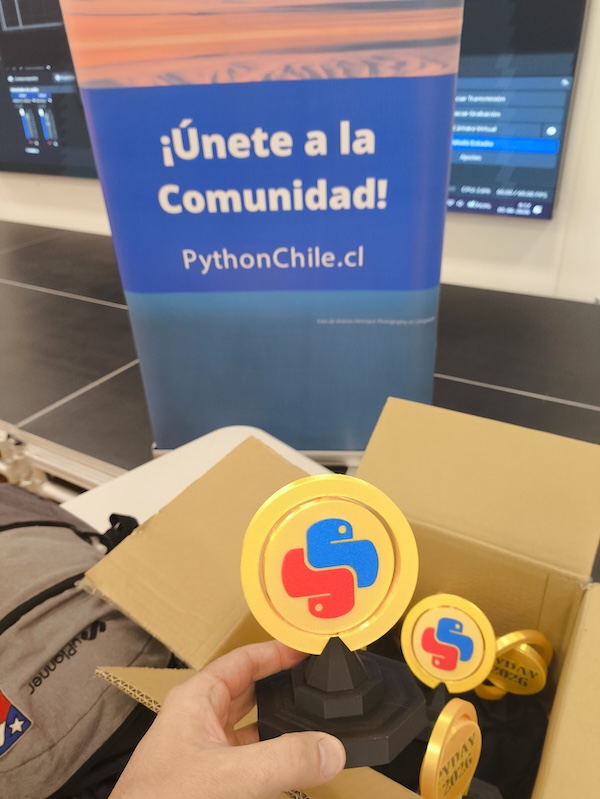
PyDay 2026 gave me the perfect excuse: I offered to make the commemorative trophies for the speakers.
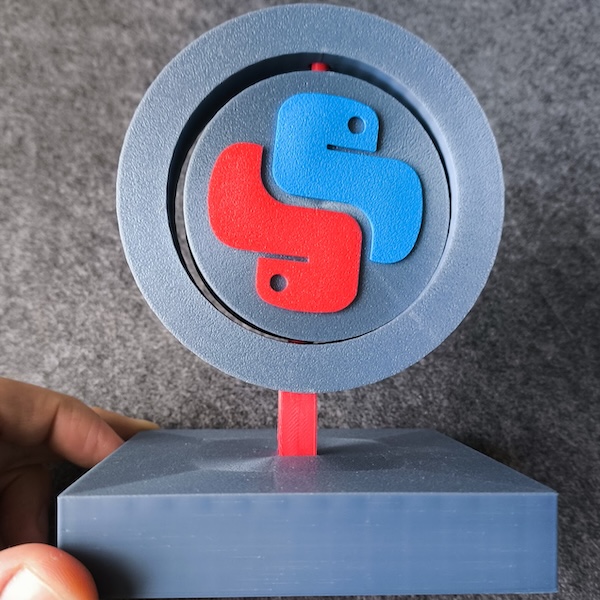
I wanted the trophy to include the Python Chile logo and to have a rotating element. This ended up being harder than I thought, but it let me learn a ton.
Attempt #1 - the proof of concept
The proof of concept helped me understand a lot of things.
I started by making the connectors for the rotating piece separately, but it was cumbersome to insert and the pieces fit very loosely. Also, the pieces were too wide (2 cm), which made it look very clunky.
Lessons learned: It’s easier to design a single model to print, and to make certain joints break to allow rotation.
Attempt #2 - styling
The top part is printed as a single piece, which has supports that break elegantly to allow free rotation. By reducing the width of the pieces, the trophy looks more stylized, but it also looks fragile. The joint between the base and the rotating plate looks very weak.
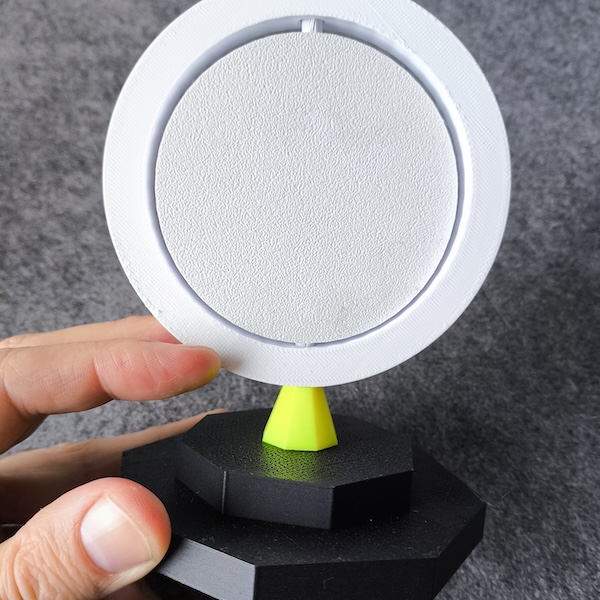
I didn’t like the surface finishes. The “rotated” surfaces on the base create a certain dissonance for me. What I learned: To design supports integrated into the model (instead of having them generated automatically).
Attempt #3 - final
The joint between the base and the rotating plate still seemed weak to me, so I added an extra piece that allowed a snap-fit joint to provide greater stability. I printed the trophies with black and “gold” filaments.